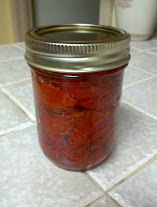
Mulberry Chipotle Sauce/ Raspberry Chipotle Sauce Recipe
/
Add some festive fruity kick to your holiday snacking with Mulberry Chipotle and Raspberry Chipotle spreads.
Read MoreAdd some festive fruity kick to your holiday snacking with Mulberry Chipotle and Raspberry Chipotle spreads.
Read More
Too much food! When I first started homesteading, I never thought I would have this problem, but right now we have so much produce coming in that I am overwhelmed! The easiest way to deal with excess is to freeze it, but our freezer is full to overflowing, so it is time to start canning. Canning is time consuming, and it can be a long process with a lot of steps depending on what you are making, but I can't tell you how wonderful it is to pull out a can of pre-prepped food to use later. I WILL remember to thank myself for all of this hard work later!
I decided to use up some of the meat and vegetables in the freezer to can a chicken noodle soup- except we raise rabbits for meat (and chickens for eggs), so in this case it is a rabbit noodle soup. Also, canning noodles is a no no, so we also leave out the noodles and simply add them in when we are ready to eat it. So really we are canning a rabbit vegetable soup.
Here is what you need:
- 3.5 quarts chicken stock (I used homemade rabbit stock)
- 4 cups rabbit, chopped
- 2 cups carrots, chopped
- 1 cup celery, chopped
- 1 cup onion, chopped
- 1 tsp salt
- 1/2 tsp pepper
- 1 tbsp garlic, minced
- 1 tsp basil (you can add whichever herbs you like)
Dump all of you ingredients into a large pot and simmer for about 20 minutes to blend all of the flavors together. This sounds quick, but all of that chopping takes time...
Next use a slotted spoon to ladle the chicken and veggies into sterilized quart or pint jars. Fill each jar about halfway and then fill the rest of the way with broth, making sure to leave one inch of headspace in each jar.
Put on the lids and rims, and process in a pressure canner for 75 minutes for pint jars or 90 minutes for quart jars. This recipe makes 4 quarts.
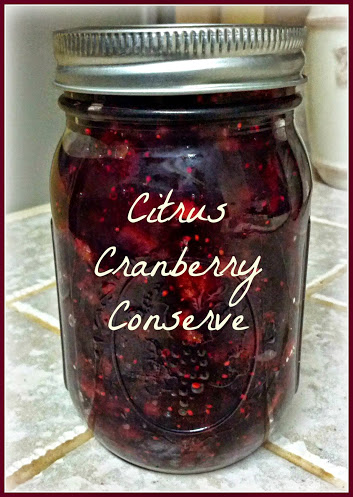
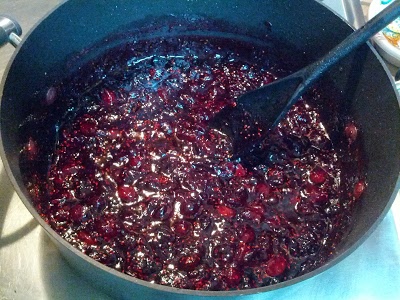
I had some leftover cranberries in the freezer that I have been meaning to get to and finally had some time today! I had enough for two different canning recipes- a whole cranberry sauce and a cranberry conserve! In case you have never had a conserve before, it is a chunky spread that is a mix of fresh fruit, dried fruit, and nuts. They go great on pastries, cheese trays, or a garnish for meats.
What you need:
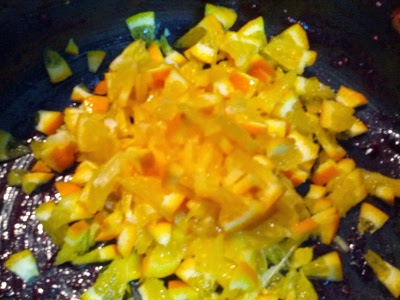
- 1 orange (with the peelings!), finely chopped and seeded
- 2 cups water
- 3 cups sugar
- 4 cups cranberries (fresh or frozen)
- 1/2 cup raisins
- 1/2 chopped pecans (can substitute other nuts if desired)
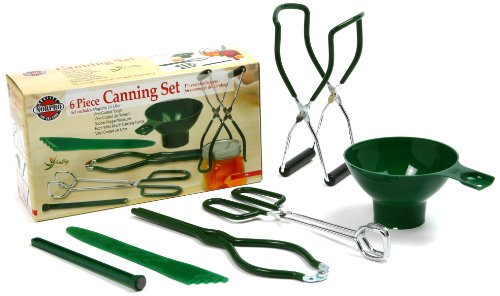
- Canning jars and lids and canning set
Combine oranges and water in a large sauce pan. Bring the water to a boil, then reduce the heat, cover, and simmer for five minutes until the peels soften.
Add the cranberries, raisins, and sugar and stir until the sugar dissolves.

Return to a boil on medium high heat stirring constantly. Boil hard for 10-15 minutes until the mixture thickens. Remove from heat and do a gel test to see if it is ready. Stir in the nuts and continue to stir for 15 more minutes. Dip a spoon in and if the mixture sheets of instead of drips off then it is ready.
Ladle the mixture into sanitized jars leaving 1/4 inch headspace. Process jars in a water bath for 15 minutes.

This conserve is sweet and tangy...just right!
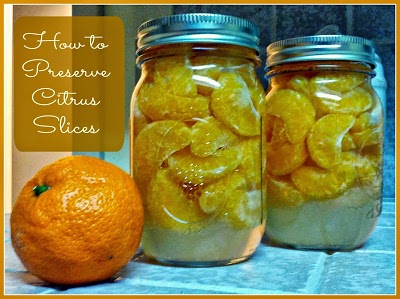
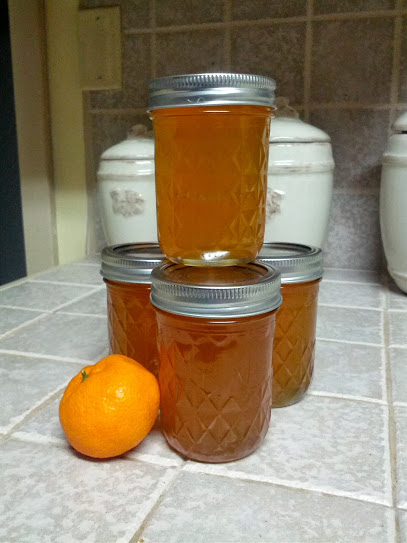
We had a bumper crop of satsuma oranges this year. Even after eating all that we could, giving some away to anyone who would take it, and making 24 jars of
, we still had more! I thought it would be nice to preserve some whole slice to use in salads or to just eat later in the year when we don't have any fresh citrus left. It turns out to be a really simple process! We used satsumas, but this can also be done with clementines or mandarins.
What you need:
- Sterilized canning jars and lids
- Sugar
- Water
- Citrus slices
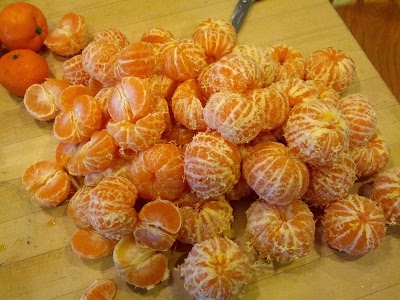
Pick your citrus and peel it, separating it into segments. Depending on how much you are canning, this process may take a while. I am pretty fanatic about getting off all of the little white pieces which turn bitter when canned. If you have a lot to make and are as particular about that as I am, you may want to put on a movie and get comfy for this part.

Once that is done, the rest of the process goes really quick. Cold pack the citrus segments into the sterilized jars. Really cram them in there! Then make a syrup by boiling a ratio of 2.5 cups of water to 1 cup of sugar. (You can play with this ratio if you want to make the syrup more or less sweet to your taste.)
Pour the liquid in the jars over the fruit until full. Screw on the lids tightly. Finally, put the jars in a boiling water bath for 30 minuets. For the water bath, put the jars into a pot of boiling water that covers the tops of the jars by at least 1 inch.
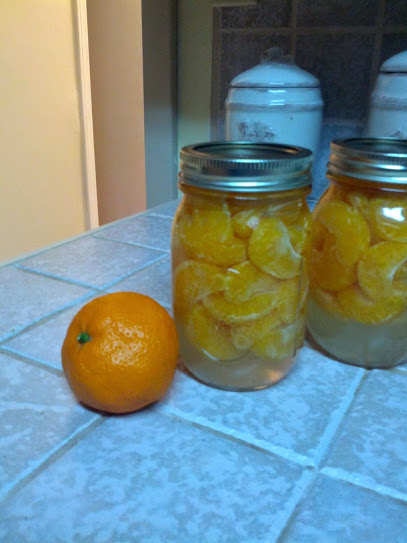
And now you are done! You have some delicious citrus segments to use throughout the year, even when your fresh fruit isn't in season! I can;t wait to use this in a salad over the summer with some dried cranberries and pecans on top!
One of the wonderful things about growing your own fruit is having fresh fruit in-season for free. The problem comes when you have WAY more than you can eat or give away! Of course this is a good problem to have, but for those who don't want great fruit to go to waste, it is time to get canning!
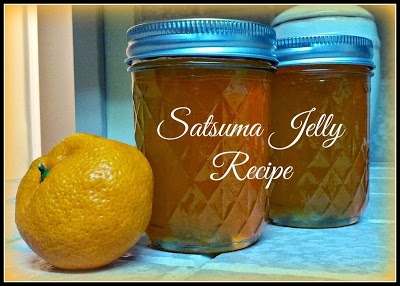
This recipe would probably work with many different kinds of citrus fruits such as clementines or mandarins, but we used a Louisiana favorite- satsumas! Satsumas are the jewel of the humid south. They are easy to peel, usually seedless, very sweet and produce like crazy! We ate two or three a day for months and then had to figure out what to do with the rest before the first hard freeze.
What you need:
- 3 1/2 cups Satsuma juice
- 5 cups sugar
- 1 1/2 teaspoons lemon juice
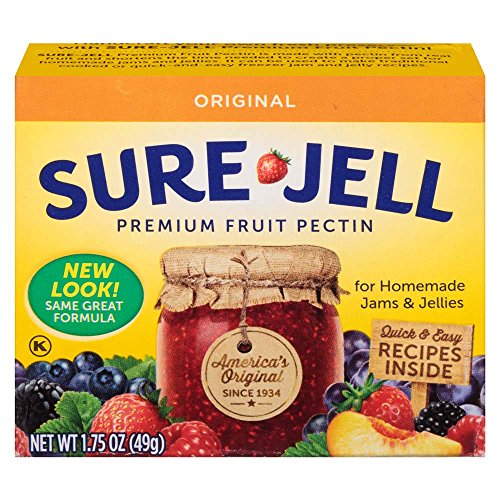
- 1 package Sure-Jell
- canning jars and lids
Makes 6 half pint jars.
Pick a LOT of satsumas and peel them, then juice them. We used a juicer to do this and ended up with a lot of waste, so if you are making just one batch instead of four like us, I would juice them by hand the old-fashioned way.
Once you have all of your juice and other ingredients ready mix the satsuma juice, lemon juice, and box of Sure-Jell in a sauce pot with tall sides. Stir continuously until you have a rolling boil for one minute (rolling boil while still stirring, that is). Then add the sugar, still stirring, and bring to a boil once again for one minute.
Ladle into sterilized jars, put on the lids and boil in a water bath for 10 minutes. Once you take the jars out of the water bath, let them sit for 24 hours to cool and jell properly. It was a pretty simple process, and the result was a beautiful, sweet, and slightly tangy jelly that I can't wait to spread on a steaming hot biscuit!
I was so pleased with the results and it came out perfectly jelled! I hope your batch comes out just as tasty!

Greneaux Gardens celebrates growing in every season of life. The blog includes thoughts on parenting, DIY projects, homesteading, and a Biblical outlook on life. Products include books written by author Erin Greneaux.

Losing Jesus in the daily hustle? these Free weekly devotions are just for you!
Powered by Squarespace.