So this week marks the end of what I would consider my first year of homesteading. While I had a small vegetable garden and got my first few chickens last year, the chickens didn't really start laying until this year, and we have expanded a lot in the last 12 months, so I would consider 2014 our first year of true urban homesteading.
I know what you may be thinking- I wish I could have a "homestead"! I wish I could have some land and grow some food and get some animals and be self-sufficient! Let me clarify our situation to encourage you. We do not have land (well, unless you count the 0.2 acre lot our house is on), and we do not live in the country (the exact opposite- we are smack dab in the middle of a city), and we are not self-sufficient (although more so than we were last year!). You can be a homesteader no matter what your living situation is. Don't wait until you buy a farm, start where you are with what you have.
To give you a little inspiration and celebrate how far we've come, I would like to share a little of our journey this year with you- how we started small and grew little by little, and how we can't wait to continue growing next year.
Our progression into homesteading has been slow but steady. Some of the things that we are doing are things I never thought I would consider a part of my daily life. Here is how it happened...
Vegetable Gardening
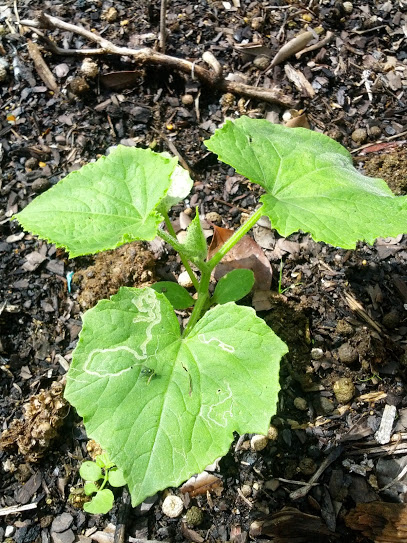
First I
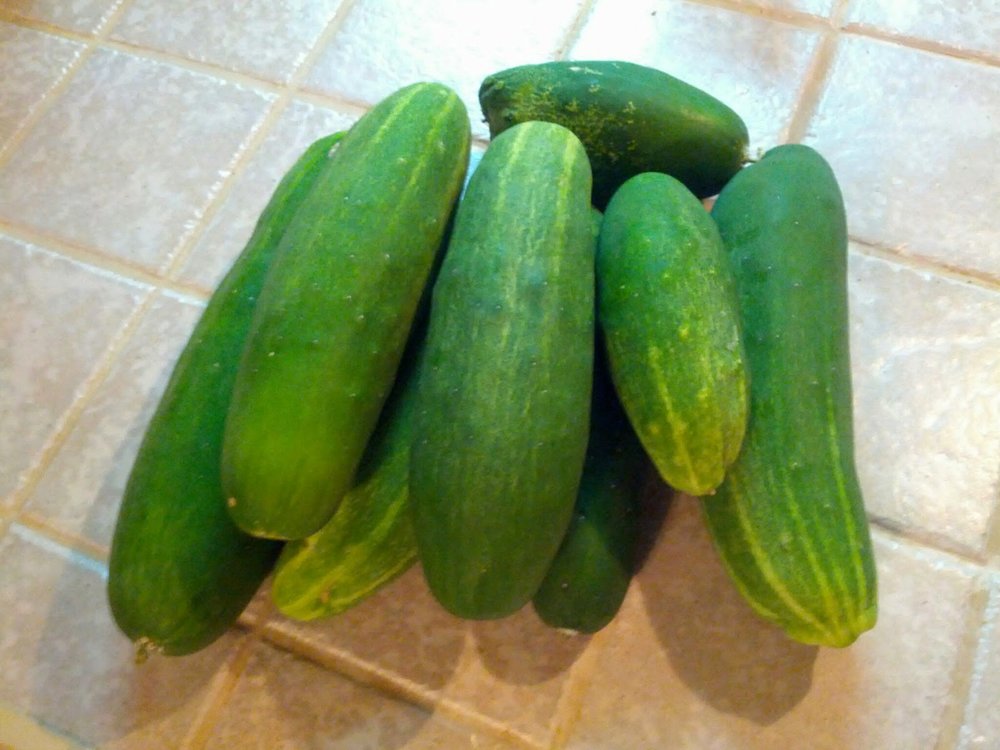
started a small raised vegetable garden a few years ago just to grow a few tomatoes, cucumbers, and peppers- it's just sort of something you do in the south. It was 5' x 10', and later I expanded it to 5' x 15'. It was small, but manageable. I bought plants at Lowe's or Home Depot for $3 each. Some years we harvested a lot and other years we didn't get much at all. Monetarily speaking we usually broke even or ended up a little ahead.
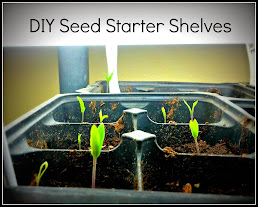
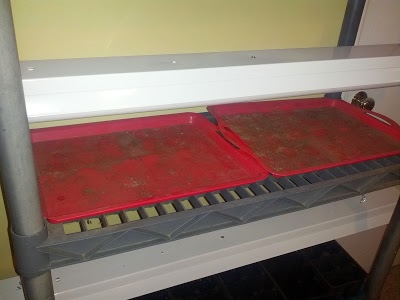
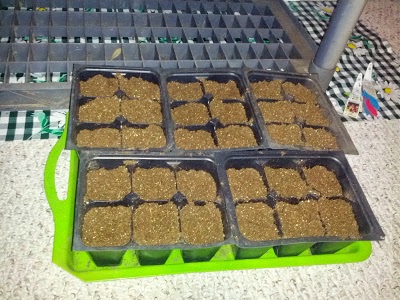
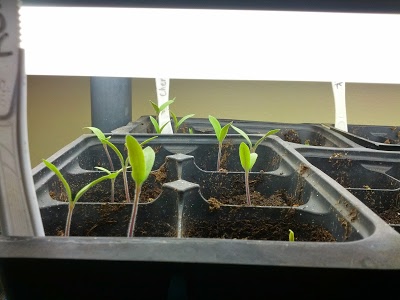
Starting Seeds
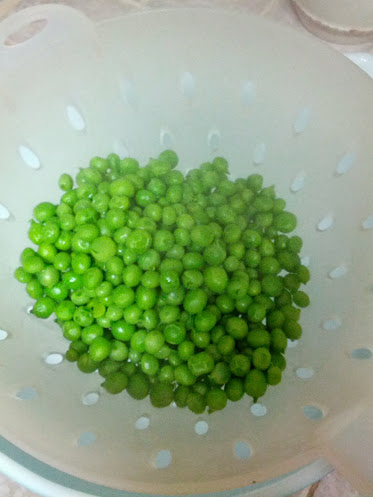
I then decided to branch out and try a few plants from seeds- I was pretty intimidated by starting my own seeds! Carrots worked out, and beans and peas were so easy and produced a ton! I started experimenting with more and more plants from seeds until almost every plant in my garden was started by seed. Now the gains were much higher, because seeds produce many plants for a fraction of the cost of plants from the nursery. Plus, I now had a much wider range of plants to choose from! Click here for a handy
vegetable starting guide.
Composting
One of the most expensive parts of gardening is the dirt! We starting composting all of our kitchen scraps and yard waste to make our own compost, and haven't bought any dirt since! I wish I could tell you how many pounds of nutrient rich "waste" I have composted instead of put in a landfill this year, but I know how much dirt we have made and used, and it has been significant! Composting is too beneficial and too easy not to do :)
Laying Chickens
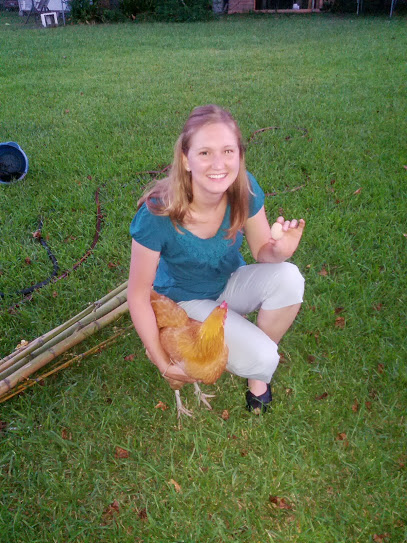
I had been reading a lot about
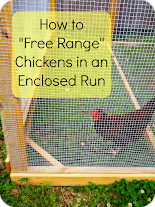
backyard chickens, and we decided to get a few to experiment. We talked about getting 3-4, but knew they wouldn't all make it so decided to get 5, and then somehow came home with 7 :) We built a coop ourselves from pieces leftover from other projects for pretty cheap. The chickens free ranged in our fenced in backyard which cut on feeding costs and make for a happy flock.
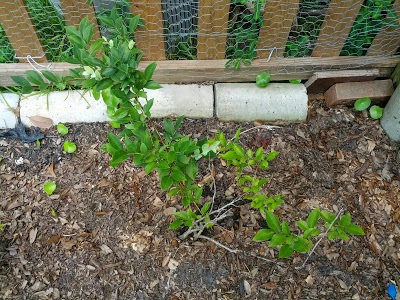
Fruit trees
In the fall of 2013 we put in several fruit trees around the edges of the backyard. There was a mulberry tree there when we moved in, but we have added a satsuma, kumquat, lemon, grapefruit, pomegranate, grapevine, 5 blueberry bushes, 2 apples, and 2 pears over the last year. While this sounds like a lot of trees, placing them strategically around the edge of the yard or as a part of existing gardens and landscaping has made up hardly notice them at all! The price of fruit in the store is crazy, and we are loving the addition of fruit in our yard!
Raised Beds and Square Foot Gardening
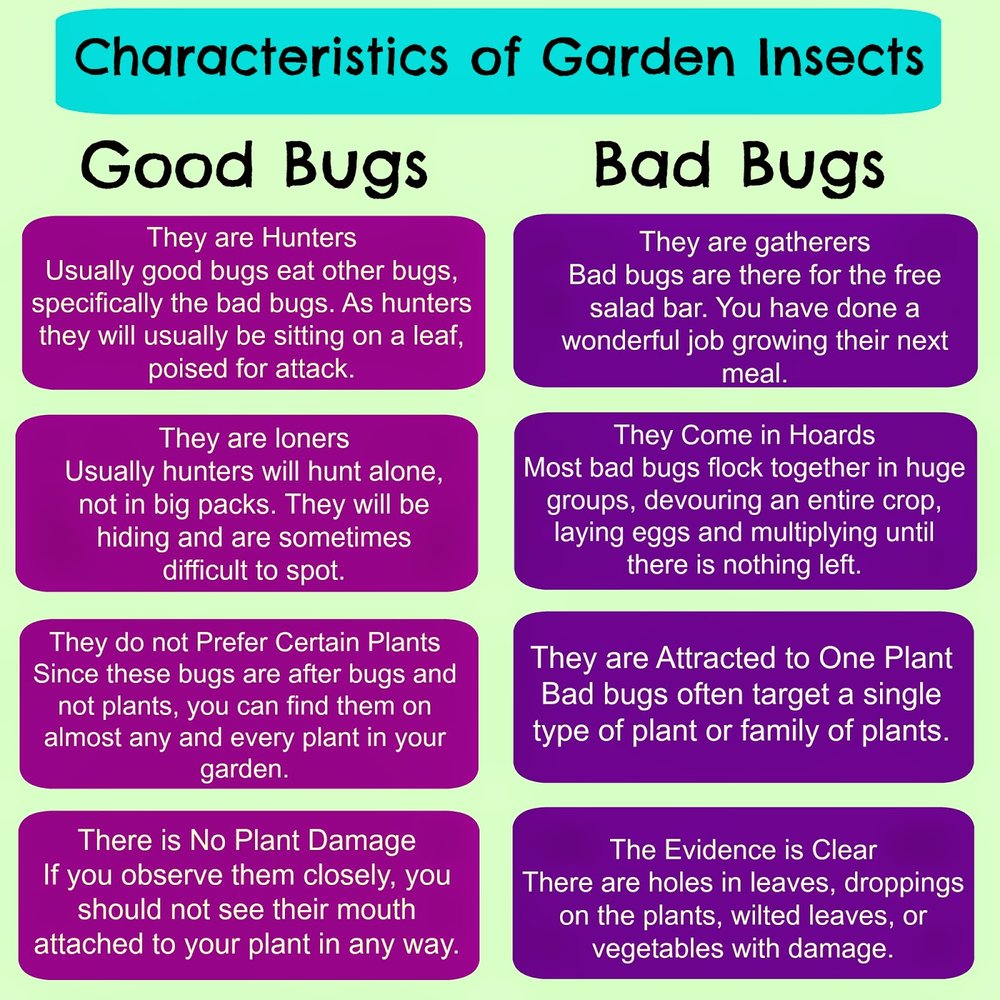
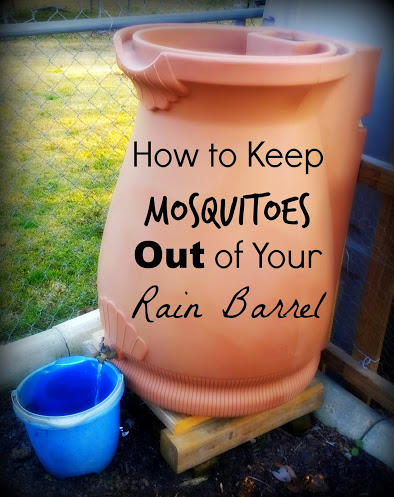
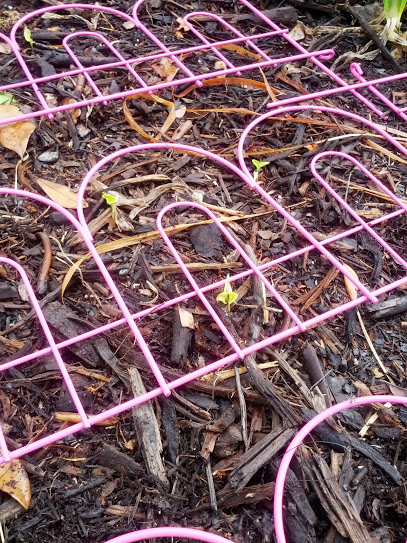
Around this time, we discovered something terrible. All of the vegetables that were our favorites, were also the chickens favorites, and the garden was the perfect place for them to dust bathe. Suddenly almost any gardening became impossible, and we rigged up some
netting to keep them out.
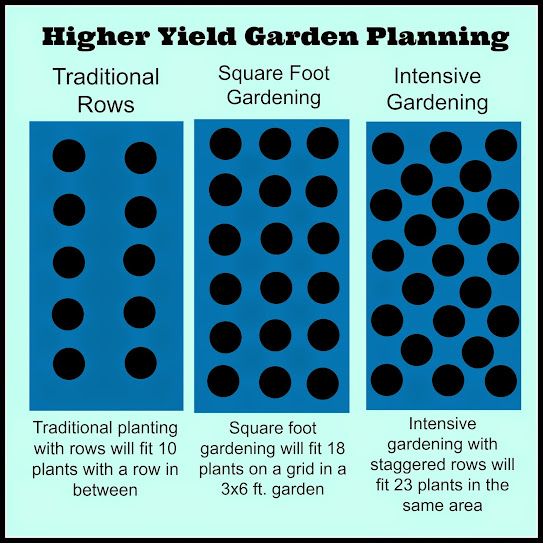
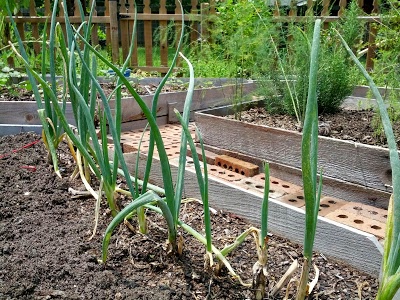
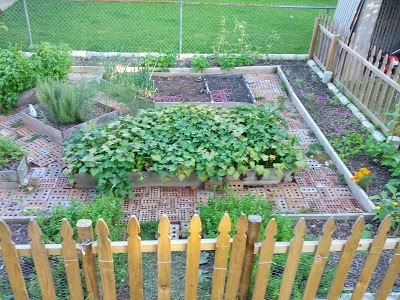
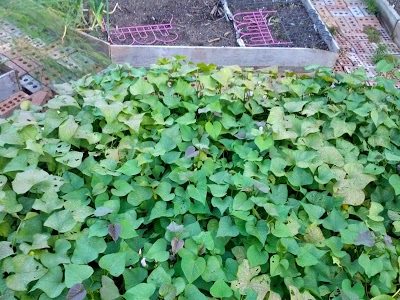
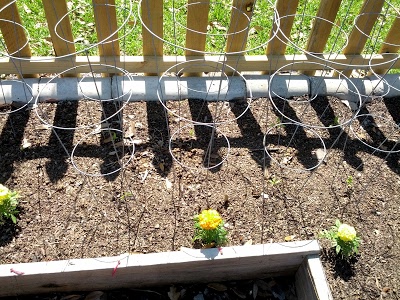
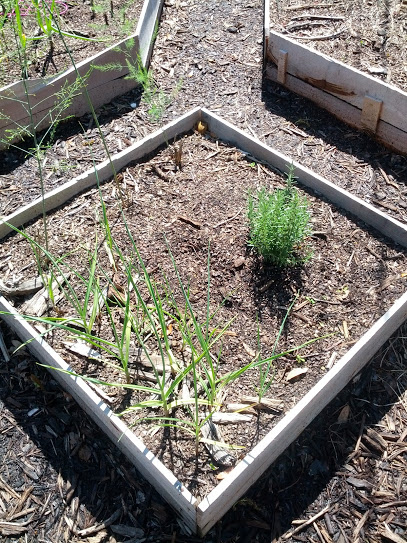
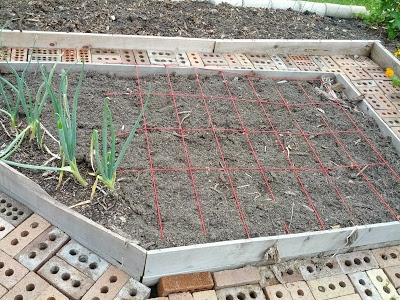
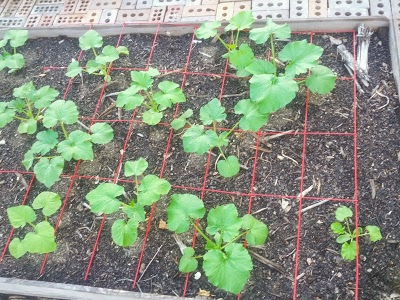
This system worked for the rest of the season, but I wanted to make a significant expansion to the vegetable garden, and fence it in to keep out the chickens. We worked all fall of 2013 and were able to put in the first plants in March 2014. We made
the new garden all raised beds and planted using the Square Foot Method.
Meat Chickens
After an unfortunate accident involving our flock of chickens and the neighbor's dog, we had to start a new flock. As it turned out, some of our hens in this bunch turned out to be roosters. We knew that crowing in the suburban neighborhood wouldn't go over well, and needed to get rid of the offenders quickly. That is how we happened upon our first meat chicken. Of our 12 chickens, 5 turned out to be roosters, and we quickly learned how to deal with the queasiness and process our own chickens. They turned out to be really delicious! At the same time, we began researching the inhumane treatment of chickens in meat processing plants. We decided not to buy anymore chicken from the grocery store and added meat chickens to our flock. While many people we know consider us raising our own meat to be mean, anyone who eats meat gets it from an animal somewhere! At least this way, we know that our animals had a happy, free ranging life before they had a second purpose of becoming nourishment.

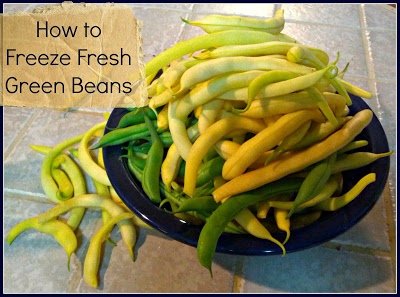
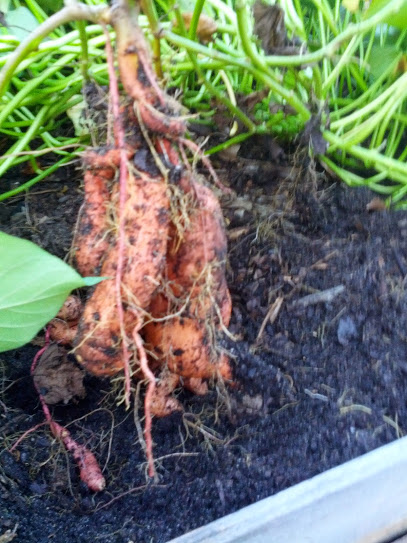
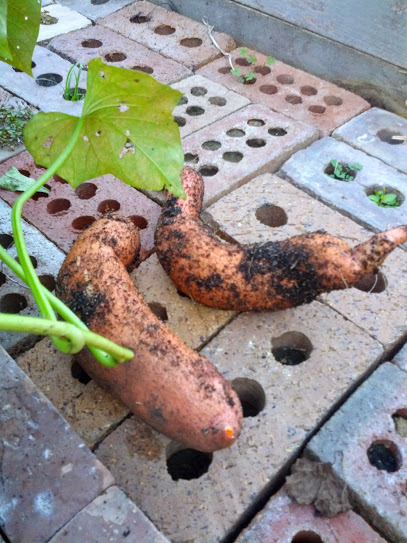
Canning, Drying, and Preserving
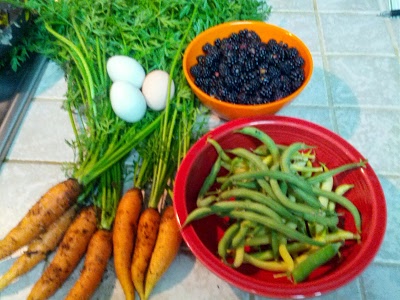
With the expansion of our garden, we started really getting a lot of fresh produce. In some cases there was more than we could eat or give away, so I started learning how to preserve food for later. Drying herbs, canning, pickling, and freezing vegetables, and making jams and jellies quickly became normal, and our pantry was well stocked. You can read the review of our
harvest from the spring season.
DIY Household Items
As soon as you figure out you can make your own food, you begin to look at everything differently. When I run out of something around the house, before I put it on the shopping list I ask myself, is this something we can make ourselves? We experimented with a lot of diy household items this year. Some have turned out great, like laundry detergent, and others not so much, like shaving cream. But slowly, we are buying less household products and making more of our own.
Rabbits
My husband had been researching other meat options, and started looking into
raising meat rabbits. I dragged my feet for months before starting this project, because rabbits are so cute! It seemed strange to raise them to eat, but they were a lot more practical than starting a new flock of meat chickens every few months. We got two rabbits, and by the time they had grown to mating age, mated, gave birth, and raised the babies to eating age, I was ready to give the rabbits a try. Best decision on the homestead yet! We have now replaced all of the chicken in our diet with rabbit, and gone back to only laying hens.
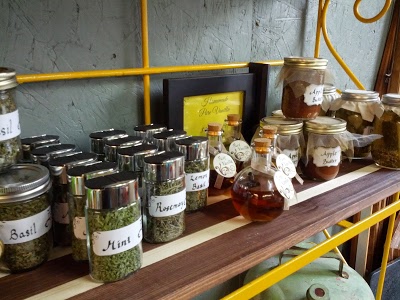
Selling the Extras
At the end of 2014, I was a part of a few craft shows, and decided to sell some of the extras that I had from our gardening adventures. These were things that I knew we would never get around to eating because we already had so much. I sold dried herbs, pickles, pepper jelly, etc. I was surprised how much people jumped all over locally grown food items that hadn't been grown with any pesticides or fertilizers! I made $63 in profit from just those few extras, and then I realized- now we are homesteaders for real! I already have people asking for more of certain items, so I will be ready with some more farm fresh products next year!
The Year in Review
While we still aren't self-sufficient, and are a long way from it, here are some things that were staples on our grocery shopping list last year, that we haven't bought at all this year!
- eggs
- chicken
- chicken broth
- laundry detergent
- most herbs (there is the random one or two that I don't grow)
- green onions, green beans, cucumbers, pickles (all of the other vegetables I still had to supplement throughout the year)
- bread (that's right, all homemade for one year now- woo hoo!)
This year we produced...
- 22lbs. meat (valued at $88)
- 87 dozen eggs (valued at $348)
- 12 lbs. fruit (not bad for the first year on our trees) (valued at $33)
- 85lbs. vegetables (valued at $226)
That's a total of $695 worth of food that we grew in our own yard with minimal effort and experience! (I'm basing these prices on regular grocery store prices, NOT what you would pay at a local farmer's market, which would be much more expensive.) Plus, add in the $63 we made from selling finished products and our total comes to $758. We spent $225 on feed, so our final profit value was $533.
Our average grocery bill last year was $50/week. So this adds up to almost 3 MONTHS of free groceries! We used what we had to make more of what we needed- that's homesteading!
What next?
We are looking forward to continuing to grow our homestead next year with new projects already in mind.
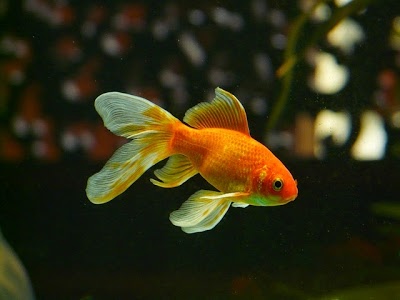
- We want to build an aquaponics system in the greenhouse to grow fish and vegetables in a coexistent relationship
- We are thinking about expanding from one female breeding rabbit to two for double the meat production
- I am getting a dehydrator to begin learning how to preserve fresh foods in a new way
- Not sure if this will happen this year, but our area recently made it legal to have bees within the city limits, so that is on the list for the future as well!
What about your homestead?
So what steps are you going to take this year to be a little more self-sustaining? Think about what you have and what you can do with it- you will be surprised at how much can come from just a little!